
My best friend's little sister is having a baby!
I usually make people their baby's name to hang in their room, but I have noticed that's a very popular thing to do lately, so I didn't want to do that for her. Turns out that's a good thing, because she apparently has several things to hang that have the baby's name on it!
I wanted to make her something she would use and hopefully really appreciate! I decided to make her a car seat cover. And I photographed all my steps to make a tutorial!
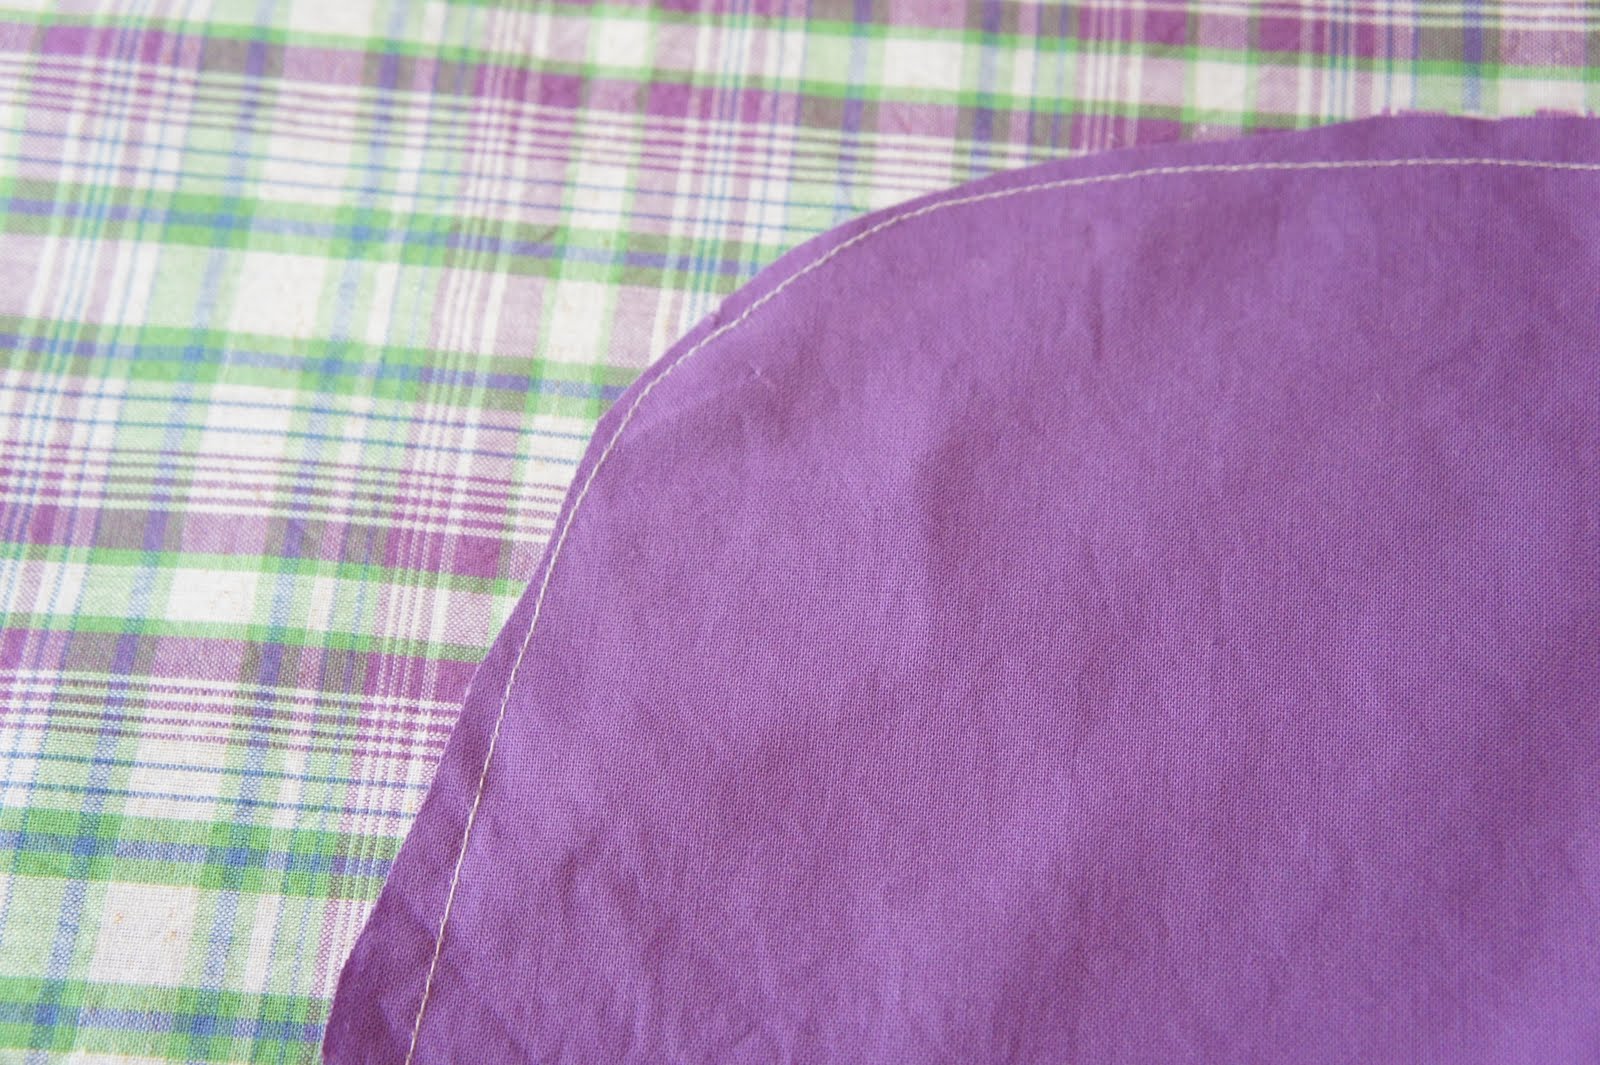
I had a tough time picking fabric for her! I finally decided on this purple and green plaid. These are the colors of her nursery!

The plaid will be the top and this purple will be underneath.

The first thing to do is cut your fabric. For this project, I just lay the pieces on top of each other and smooth them out really well. Then you can cut both pieces at the same time.
I find that if I cut them separately, there always seems to be a little part that's off.
Make sure your fabric is facing each other. If there is a definite front and back to your fabric, then you should be looking at the back! (There isn't a definite front and back on my fabric.)
We are going to refer to this as a blanket, just to make things easier!

Once cut, it's best to go ahead and pin the edges.

If you want round corners, take a regular sized bowl and trace the corner with an air soluble pen.
If you want squared corners, then skip this step!

Then cut where you traced.

Now pin the corners of the fabric.

And start sewing.
Start on a straight side. Back stitch then sew straight leaving about a 1/4" seam allowance.

A tip for sewing rounded corners: I think it's easier if you go at a steady speed...not too fast and not too slow. For me, if I try to stop and start in the middle, it ends up getting a little wonky. Also, you should look at the edge of the fabric where your seam allowance is, and not at the needle.
(These are just tips that work for me. You might find another way that works better for you.)

When you get back to the side you started on, stop about 6 inches before you get back to where you started sewing. Back stitch a couple of times.
Your hole will look like this...
This is actually after I had already turned the blanket inside out, but you get the idea!

Here you can see the stitches on the rounded corner.

I like to trim the corners a little before turning the piece inside out. This helps it lay a little flatter in the corners when we turn it.
Cut the fabric close to the stitches, but careful not to cut them...that will create a hole!
Now turn your blanket inside out from the 6 inch hole you left.

Make sure you push the corners out. It's easier to do it now, than trying to do it later. Just stick your hand in the hole and push the corner.

Your blanket will have "puffy" edges like this...

Take a straight pin and stick it in between the two layers.

Using the pin, pull the fabric out so it will be flat.

Hold fabric flat and iron. Do this in small sections and be careful not to burn yourself.

For the opening, fold the fabric in following the fold that has been sewn, and iron them flat.

Iron the rest of the blanket.

Now sew all the way around the blanket leaving a 1/4" seam allowance.
Be sure to lay your opening flat and sew it shut.

Now for the straps.
Cut two pieces of fabric that are 5" by 8".
I used the purple since they will be on the plaid fabric, but you can choose the same fabric or different.

Fold strips in half and sew all the way around leaving an opening so you can turn it inside out like you did with the blanket.

Turn inside out and sew around the entire piece making sure to sew the opening shut.

Choose some velcro that matches your project and sew it on. Make sure you put one piece of the velcro on one side and the other piece on the other end and on the opposite side. Otherwise, it won't close correctly!

After getting my car seat and doing some measuring...

I decided the easiest thing to do is to fold the blanket in half, long-ways. Then fold in half again. It should look like this...

Put a pin in the corner, or mark it with an air soluble pen. This marks the center of the blanket.
You want the straps to be 6 inches apart.

If you fold them in half, and pin from the inside of the fold, you will easily find the middle!

Sew the straps on by sewing a rectangle in the middle of the straps.

It will look like this on the back side.

You did it!
Good job!

Now stand back and admire your work!

I just love making things for people that I think they will appreciate! I hope they will anyway!
Show me the car seat covers that you have made!


No comments:
Post a Comment